Each summer I take on a new challenge. A few years ago, I made some quilts. Then I tried rigid heddle weaving. Now I’m trying my hand at dyeing yarn. I like bright colours, so I’ve started with chemical dyes on merino wool.
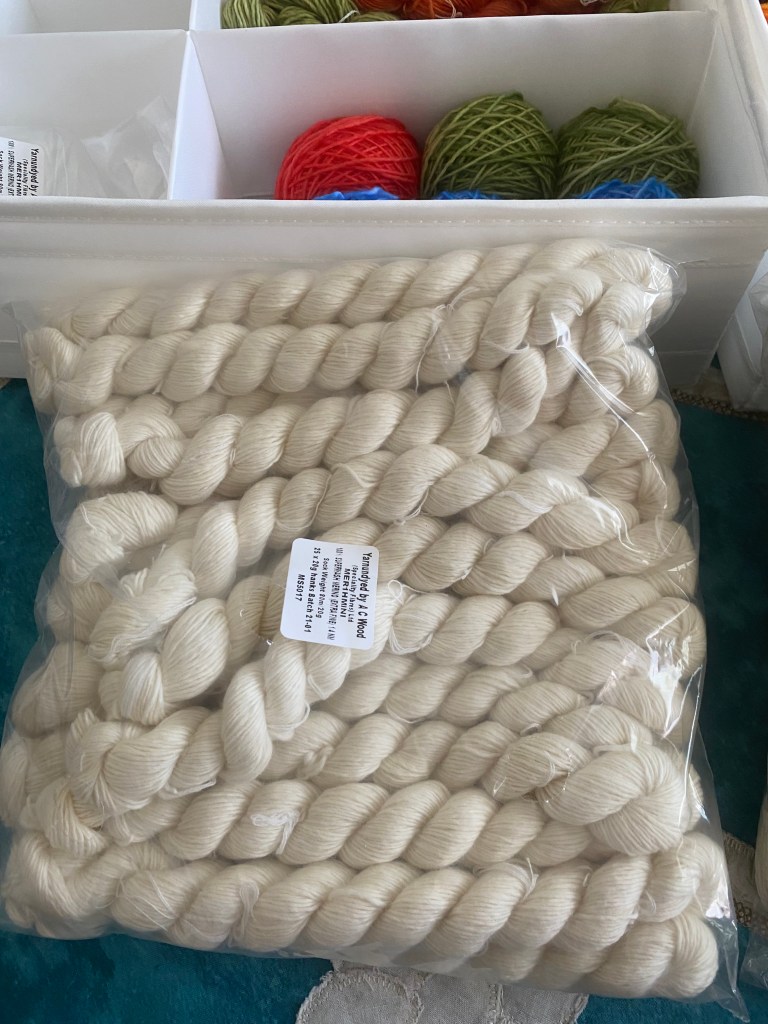
I started by purchasing a couple of packages of bare yarn in minis. I picked some fingering weight in 100% merino wool, and some 80% merino and 20% nylon. I didn’t realise until I started working with it that the pure merino was single ply. When buying the bare yarn, I was most concerned with getting the weight of yarn that I use most for mittens and hats.
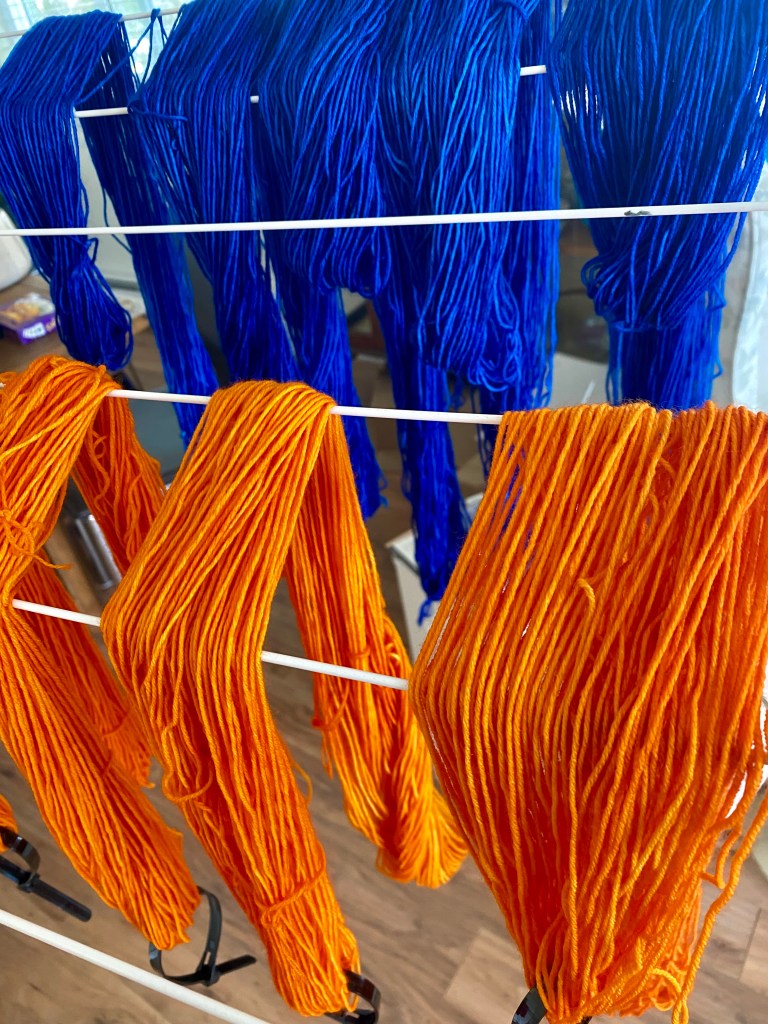
My friend Tracy gave me a good introduction, and my first solo journey was creating a rainbow array. First, most people judge the amount of dye powder they need based on the weight of the yarn to be dyed. While preparing the dye and setting up equipment, soak the unfurled skeins of yarn in tepid tap water. This helps with the absorption process.
Step one is to weigh the dry yarn; step two is to mix dye powder with water in the desired concentration to get the desired saturation of colour. Step three is to bring the (dye) bath to a temperature around 180 degrees Fahrenheit/82 degrees Celsius and add the dye as well as citric acid or vinegar. When the dye bath is ready, it’s time to add the yarn. If you’ve done your math, the dye bath will ‘exhaust’ — all of the dye will be absorbed into the wool. Some people ‘let it cook’ for 20 to 40 minutes to exhaust the dye bath. I swished the yarn a fair bit to encourage the colour to grab onto the fibres.
If the dye exhausts, the once-white wool is coloured, the dye bath water should be colourless. That’s the ideal time to take the wool out of the bath, gave it a rinse in lightly soaped water, then clean water. Ideally there should be no colour in either the wash or rinse water (no bleeding).
What a lot of common words used in a particular way!
What happens when you’ve added too much dye and it bleeds in your rinse water? You can stop the bleed by adding some acid to the rinse water, let it sit then repeat the wash and rinse process. If you think about being in the dark room developing photographs, you’re fixing the dye.
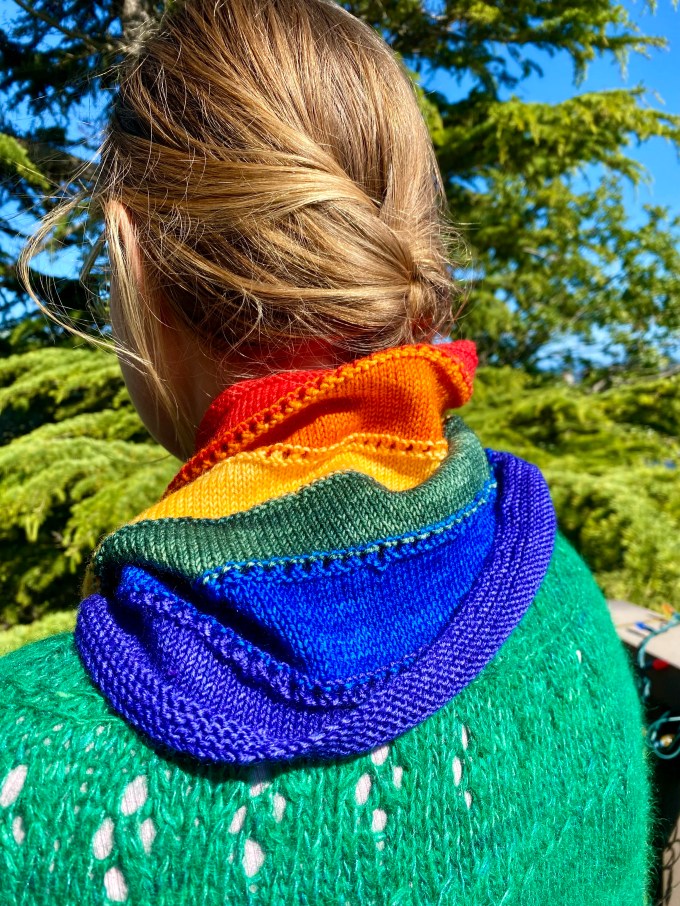
One of the frustrations I have with indie dyed yarn (yarn dyed by indepedent dyers rather than by manufacturing companies) is that I don’t know how the yarn is going to look once it’s knit up. Many indie dyers make multicoloured hanks that are beautiful when wound into a skien, and not so great when knit into a hat, socks, scarves or mitts. For my first exercise of a prism of colours, I knit a very simple cowl to show how the finished yarn looks.
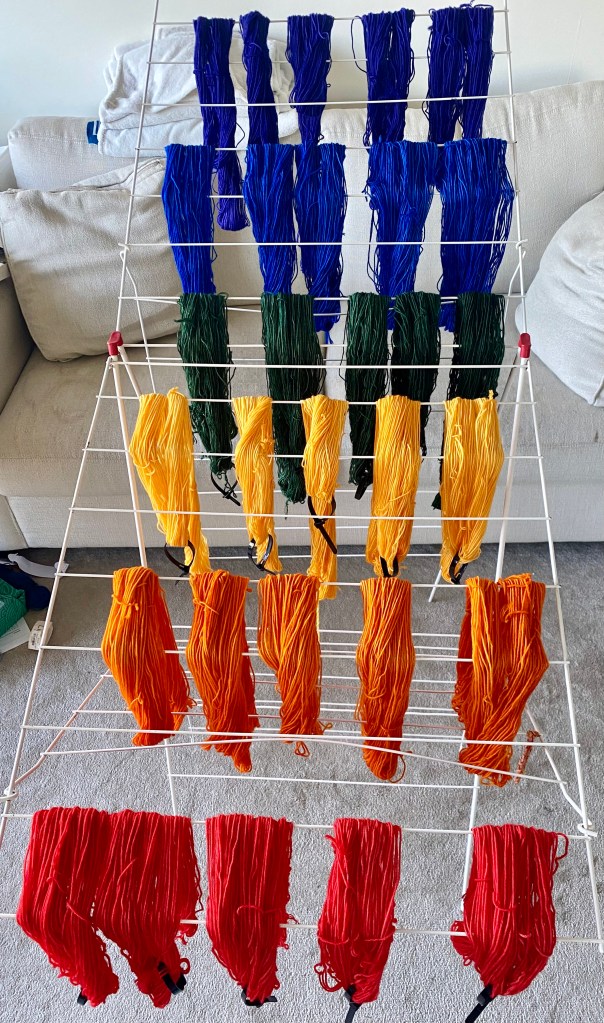
My next exercise was in making a gradient set. From YouTube, I learned that I needed the yarn needed to be in the bath for five minute intervals. Okay: add it all in at once and take it out in five minute intervals. The yarn that had the least time will be the least saturated. Nope. The 25-minute yarn was definitely darker than the 5 minute yarn, though the difference wasn’t significant enough. The issue was the speed at which the dye struck (grabbed onto the wool fibres). This was partly because I added acid before adding any wool to the dye bath.
After watching more YouTube videos, I learned to put it in at 5-minute intervals rather than take it out at these intervals. The dye would be absorbed into the skeins that went in first, and there would be less dye available by the time four skeins had been added. Incredibly sensible once I thought it through.
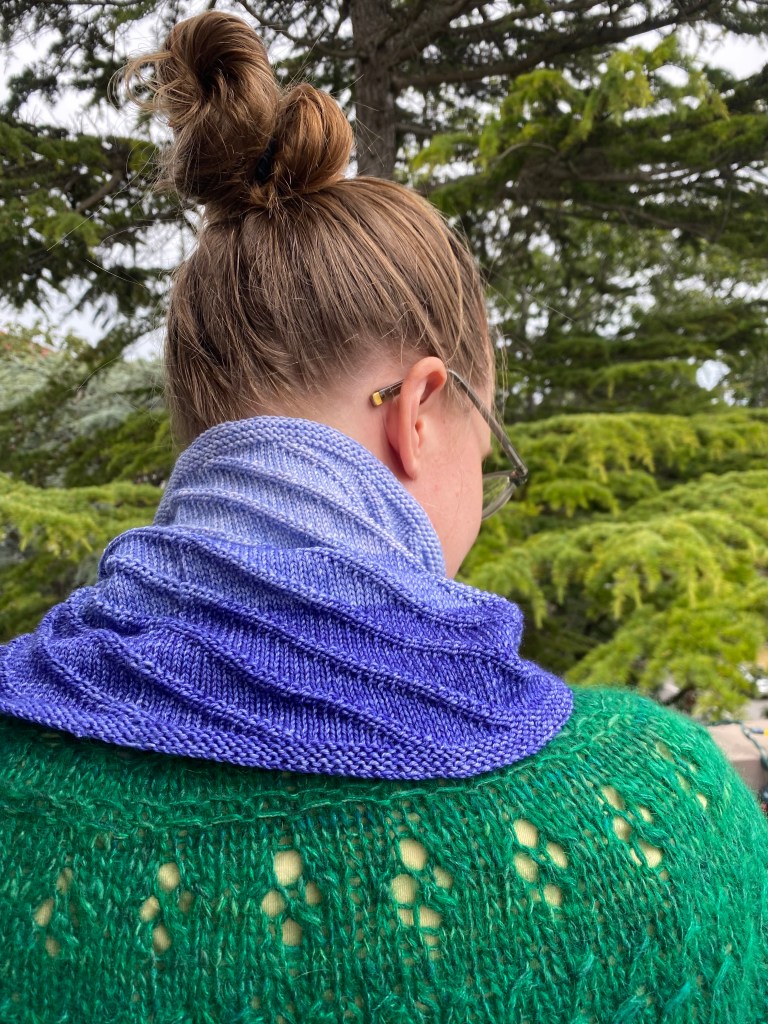
These violet colours all came from the same dye bath. By knitting them up, I could see how the yarn looks and, I could also feel the wonderfulness. The acid from the dyeing process, as well as the washing, made the yarn feel incredibly soft.
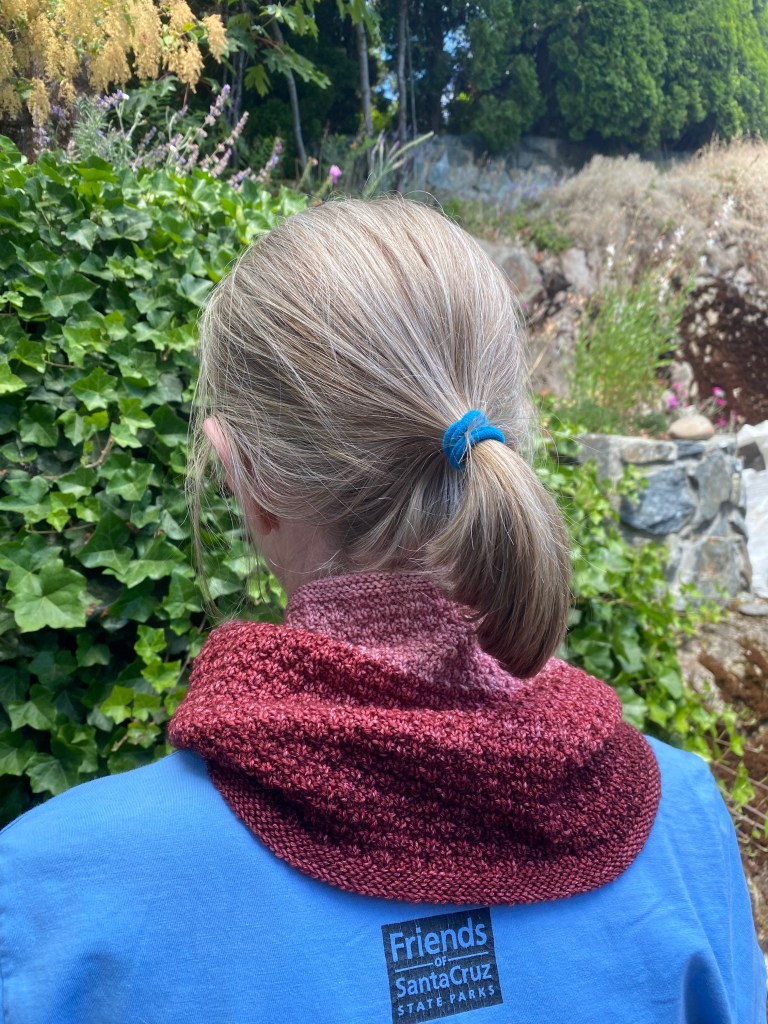
From the gradient pictures, it’s clear that there are still some variations in the colour. It’s not consistent throughout. While this gives depth, it also makes it harder to combine skeins that were dyed at the same time (dye lot) to have a smooth transition. My solution at this point of my journey is to use one skein at a time. Each of the gradient cowls was made with three mini skeins of 85 meters each. But what if I wanted a hat, out of a more solid colour?

The first thing I tried was changing the time I added the acid. It definitely gave me a more solid looking colour. With the blue in this hat, I mixed two shades of blue powder. I let it cook for a while, then added a bit of violet to the dye bath. Then, when the colour was close to what I was going for, I added some acid solution. When making my gradient yarns, I added citric acid crystals directly to the bath, often when there was already yarn in the bath. I was trying to encourage the dye bath to exhaust.
Earlier, I said the gradient cowls were made up of three mini skeins. This hat has about 1.6 mini skeins of blue and 0.6 mini skeins of yellow. I added the second skein of blue when a yellow stripe was separating the first from the second.
In retrospect, I could have kept up the pattern of two rows blue, two rows yellow throughout. I rather like the music staff array of five rows of yellow stripes, a band of blue, and another five rows of yellow stripes.
Adding acid towards of the end of the dying process helped make the colour smoother, though not as much as I hoped. I clearly have a lot more to learn.
The key lessons from these early adventures:
- I know more about colour than I thought
- Dyeing takes time
- I use way too much dye. Perhaps I should pay attention to those indie dyers on YouTube who measure the amount of powder they add to a dye bath
- Acid is my friend, and wool’s friend too. We need to explore our relationship over quantity and time.
My experiments in dyeing will find their way to a Christmas Craft Fair this winter. The cowls, hats and other experiments will be on hand to show what can be made with minis, and kits will be available for people who want to make their own finished objects. If you want one, send me a message about buying the finished item or a kit to make your own. Kits make great gifts for knitters.
